
Select a luggage tag design for your Disney vacation. Next, click on either Word or pdf format below the graphics to print. You will need to have either Microsoft Word or the free program Adobe Acrobat Reader to print the pages. Use Avery card/label #8371 (10 cards per sheet) or print on any 8-1/2″ X 11″ paper and cut out the luggage tags.
- Click on the Microsoft Word format below the tag you like if you would like to customize the luggage tags prior to printing.
- Click on the Adobe Acrobat (pdf) format below the design you like to print the sheet out for completion by hand.
Classic Mickey and Friends Luggage Tag

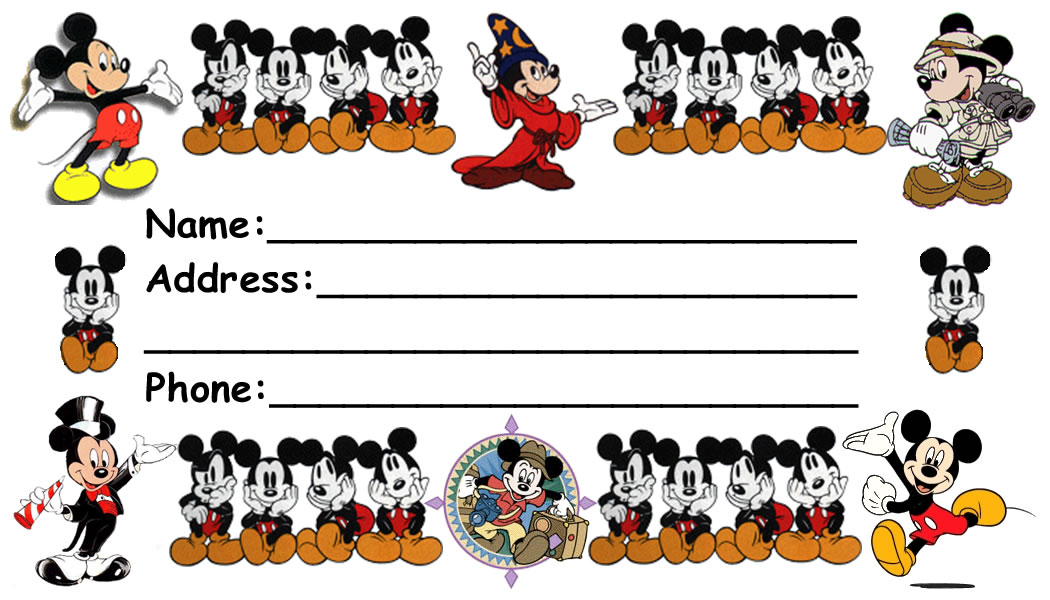
Mickey Mouse Luggage Tag
Donald Duck Luggage Tag

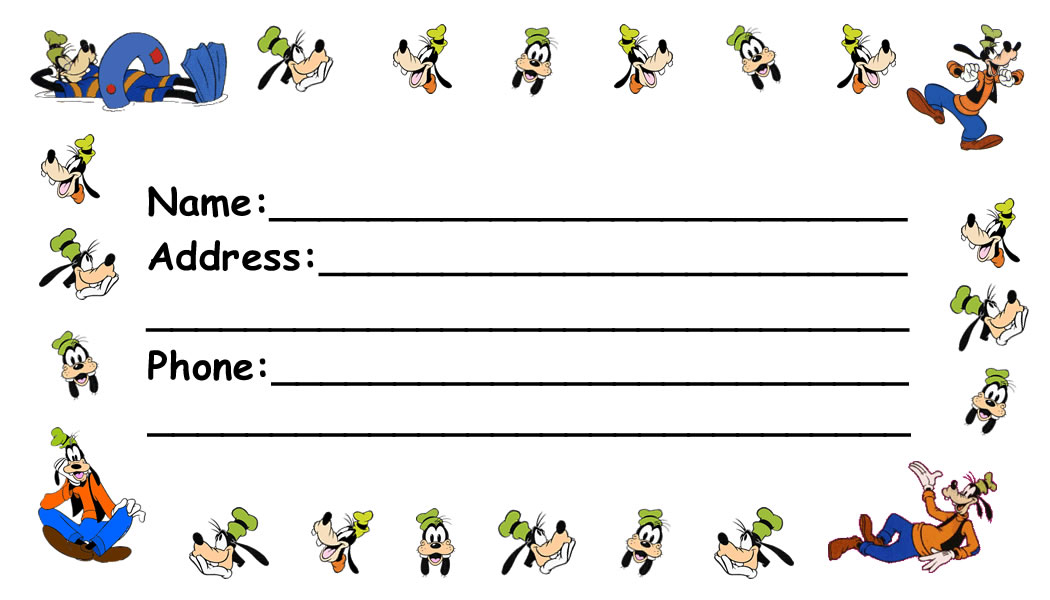
Goofy Luggage Tag
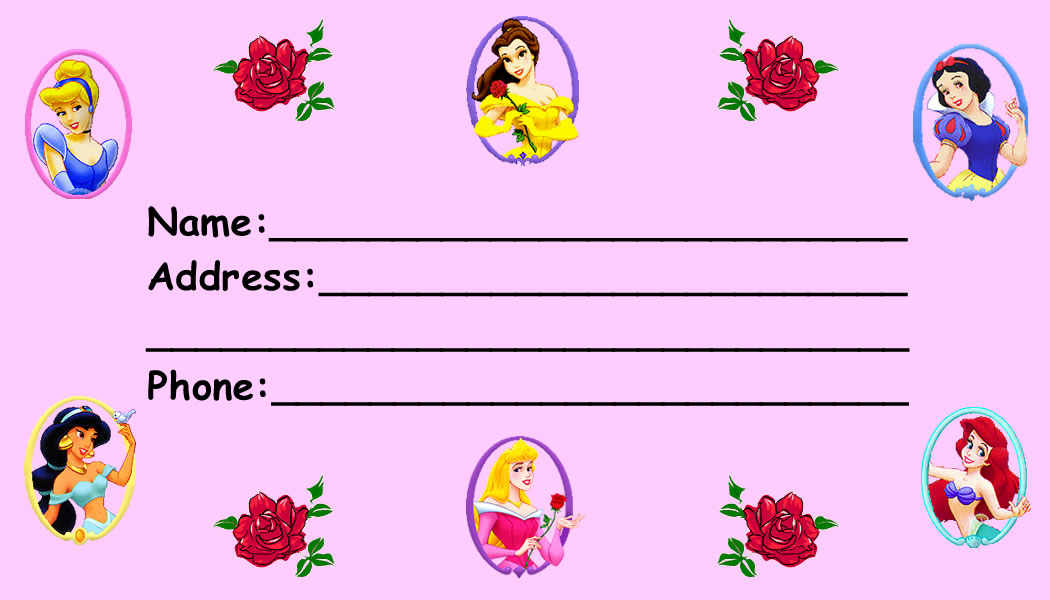
Disney Princesses Luggage Tag
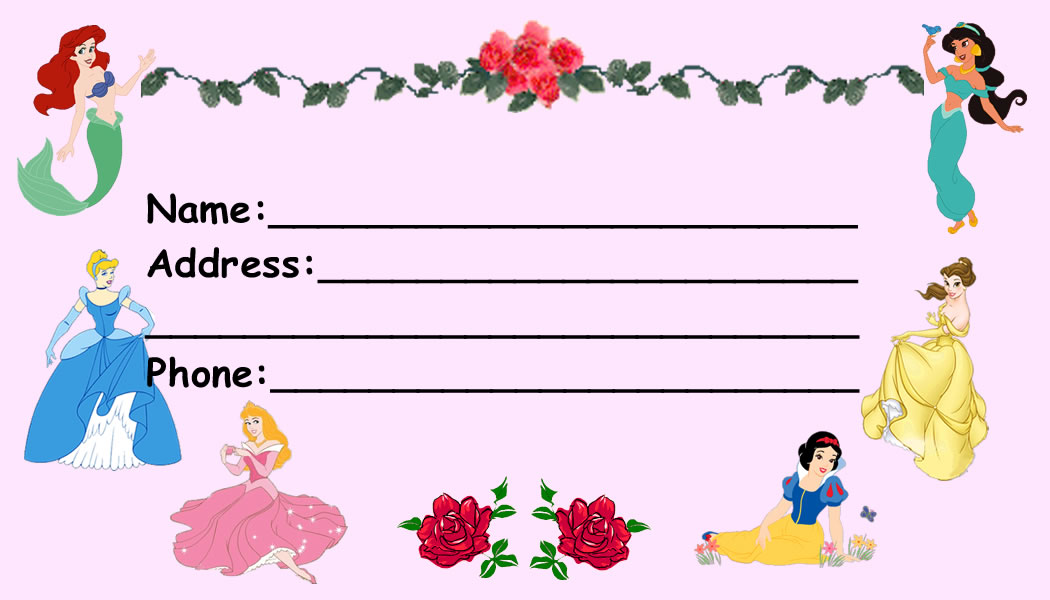
Disney Princesses 2 Luggage Tag
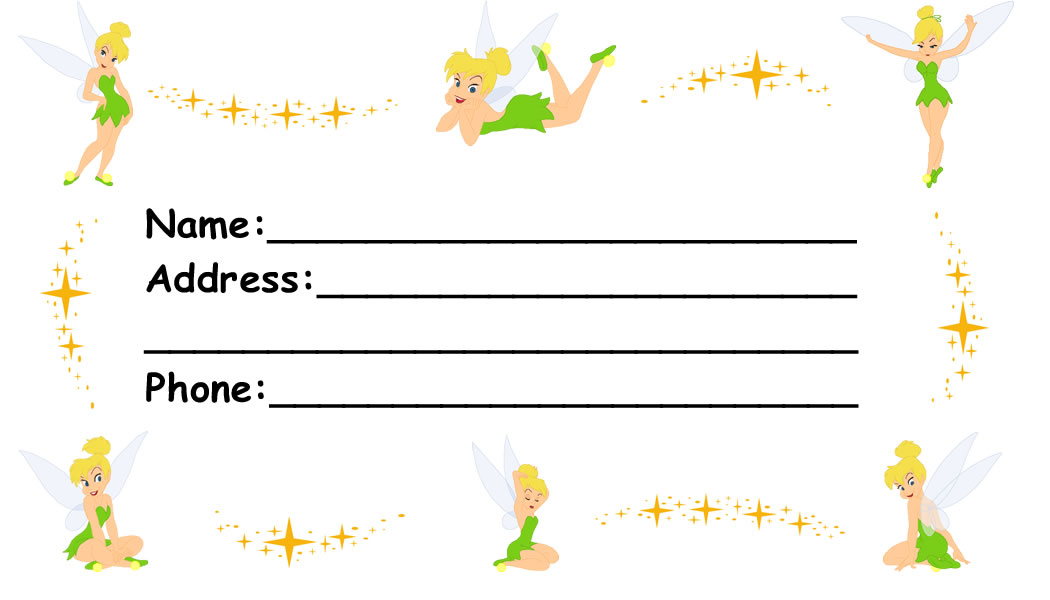
Tinkerbell Luggage Tag
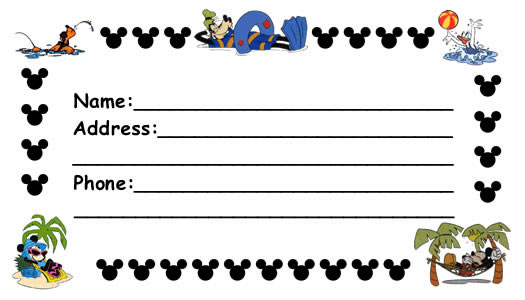
Disney’s Fab 5 on Vacation Luggage Tag
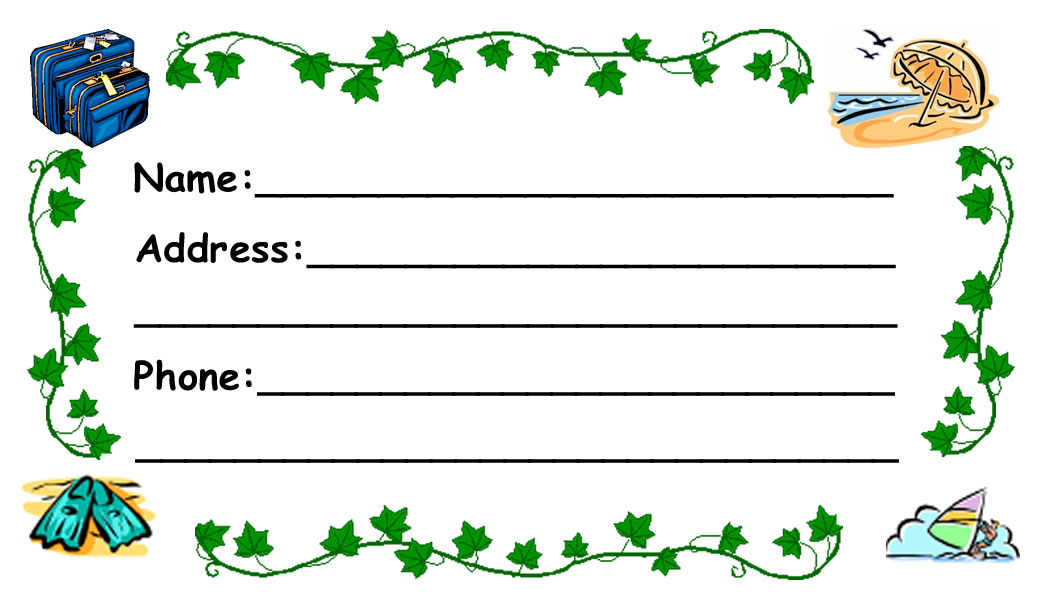
Generic Luggage Tag
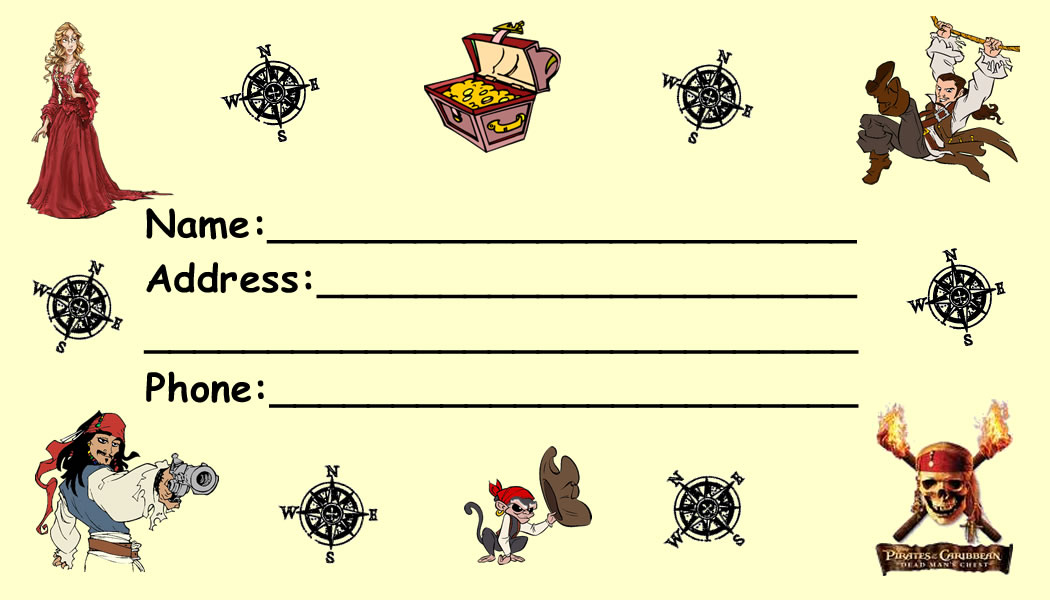
Pirates of the Caribbean Luggage Tag
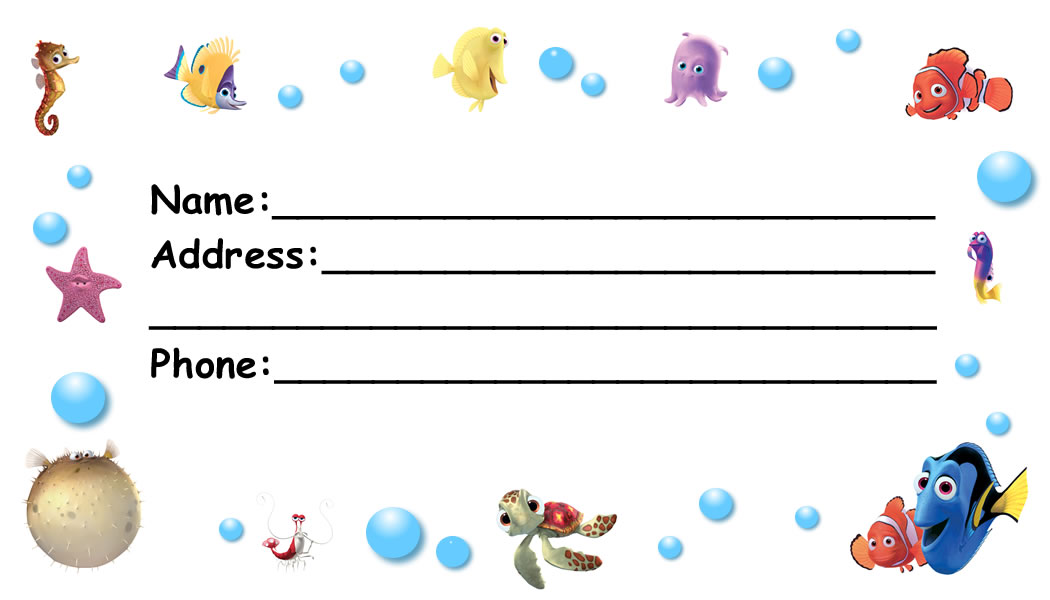
Finding Nemo Luggage Tag
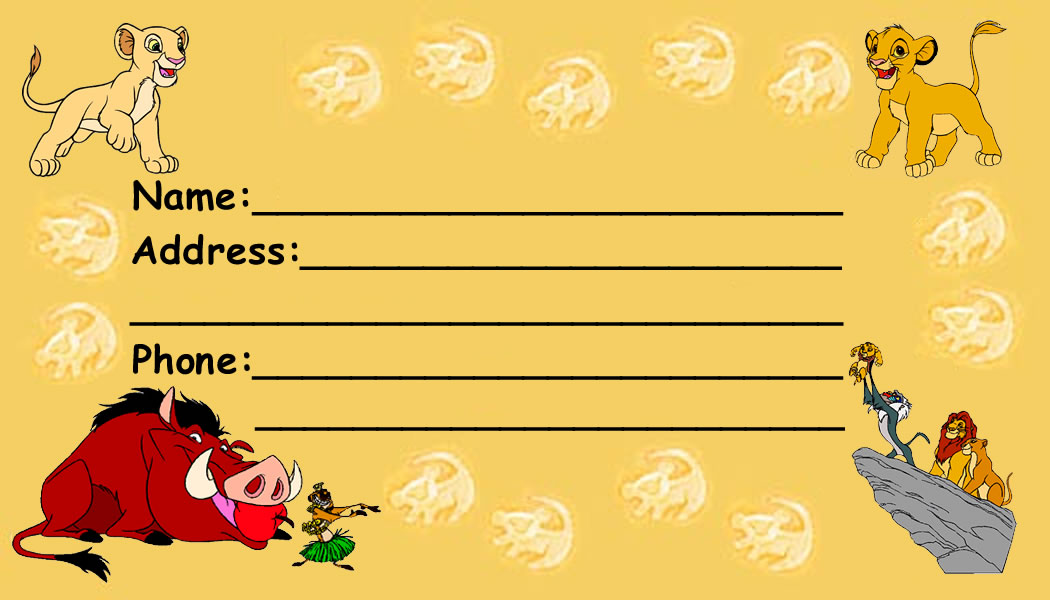
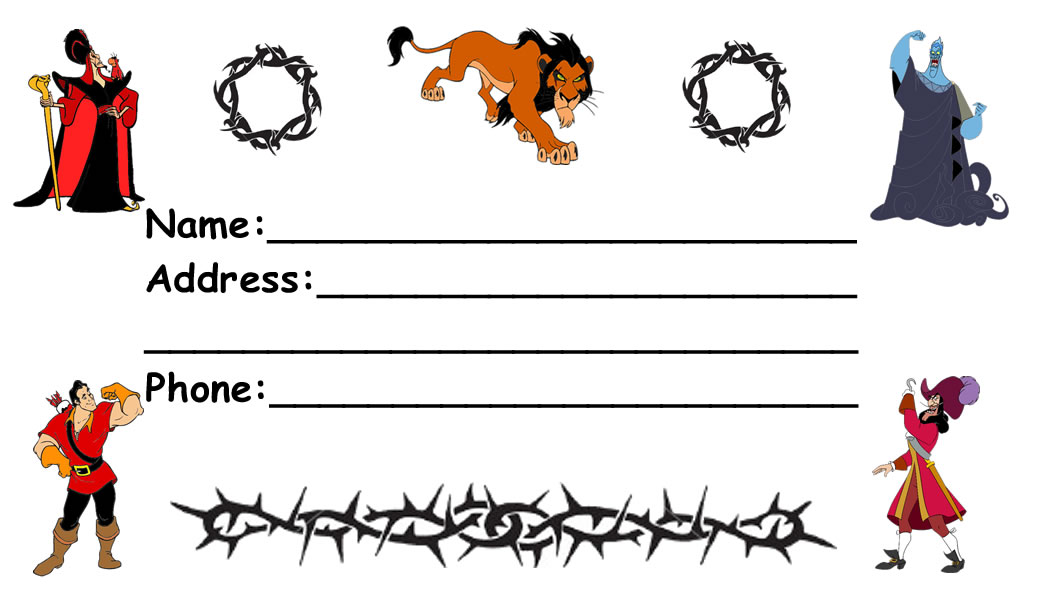
Disney’s Lion King Luggage Tag
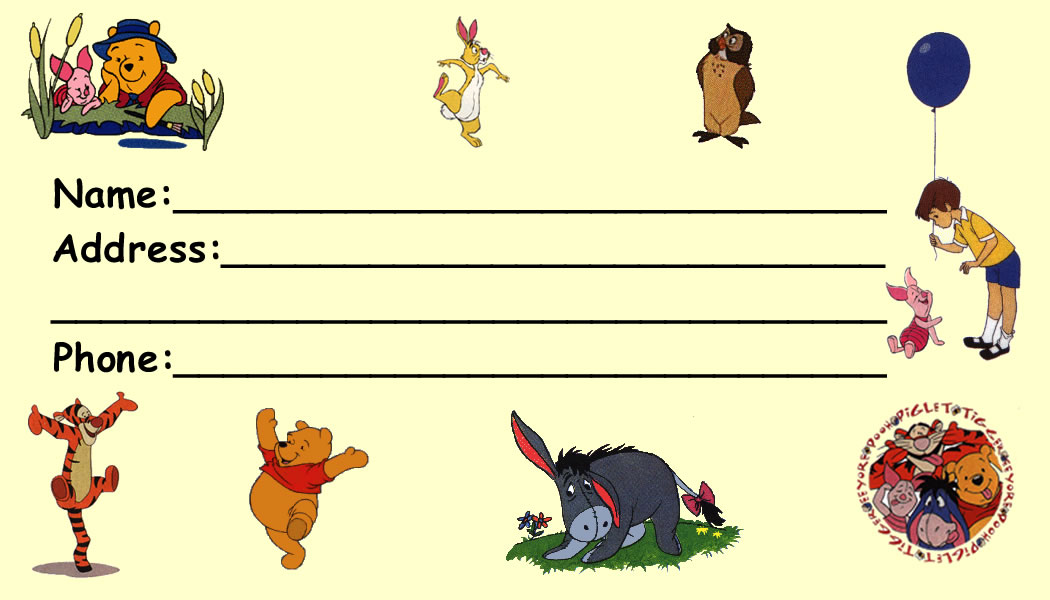
Winnie The Pooh Luggage Tag
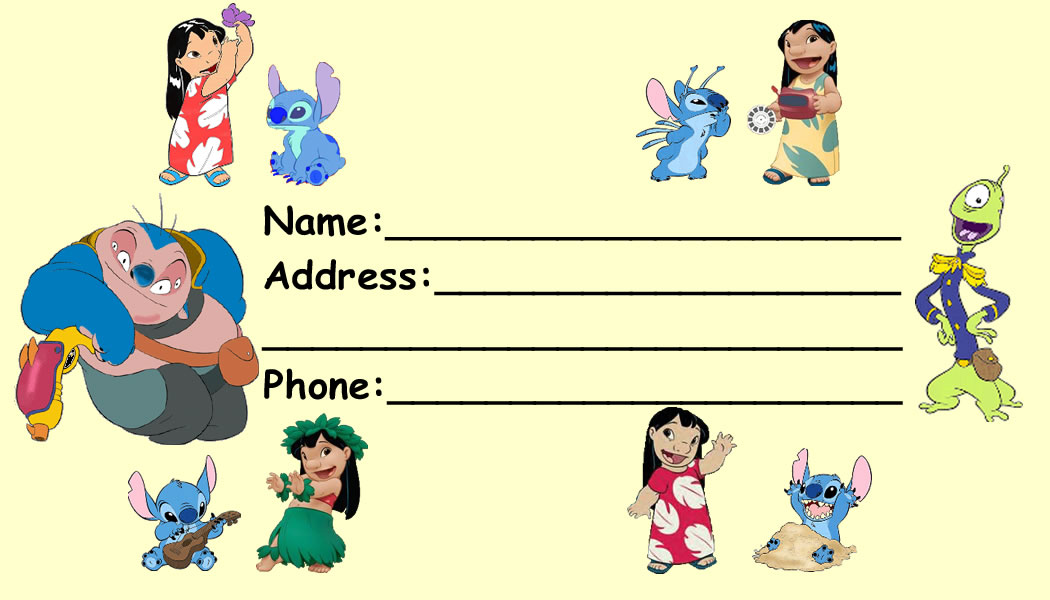
Disney’s Lilo and Stitch Luggage Tag

The Mouse For Less Luggage Tag
Disney’s Male Villains Luggage Tag

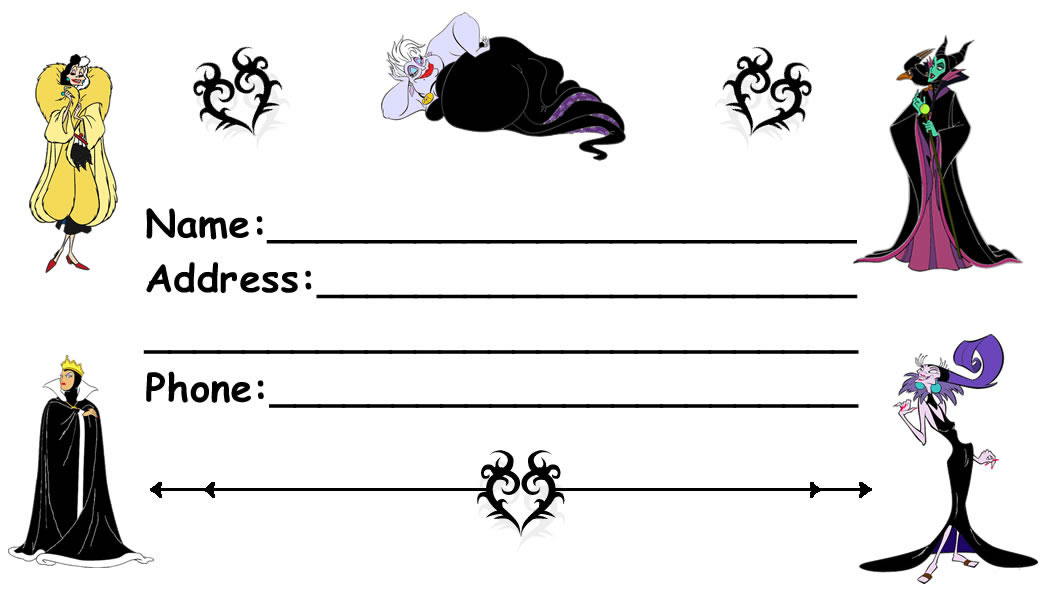
Disney’s Female Villains Luggage Tag
Disney Luggage Tags for Special Occasions
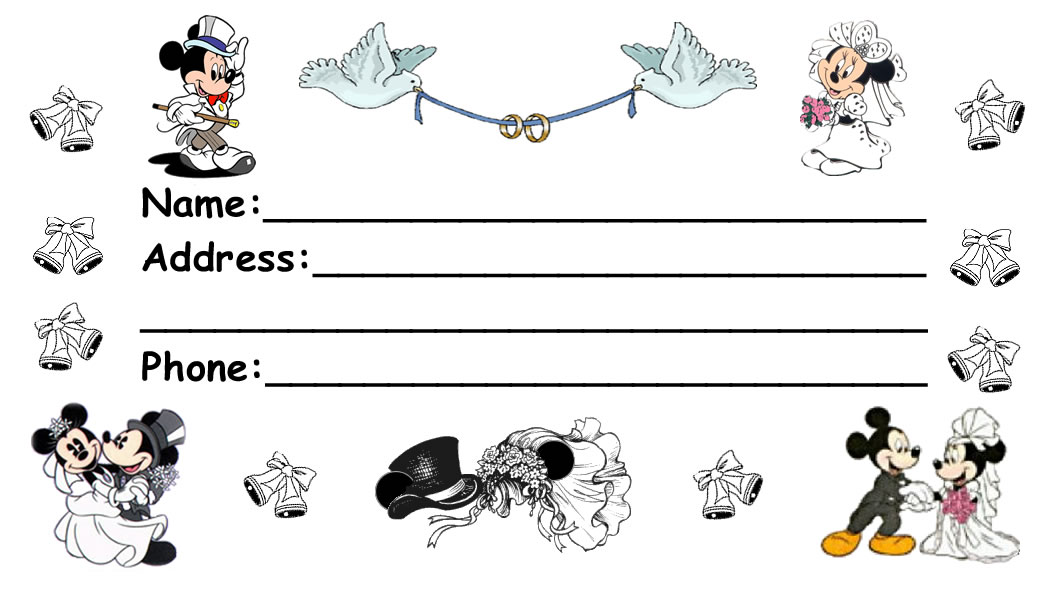
Disney’s Wedding Luggage Tag

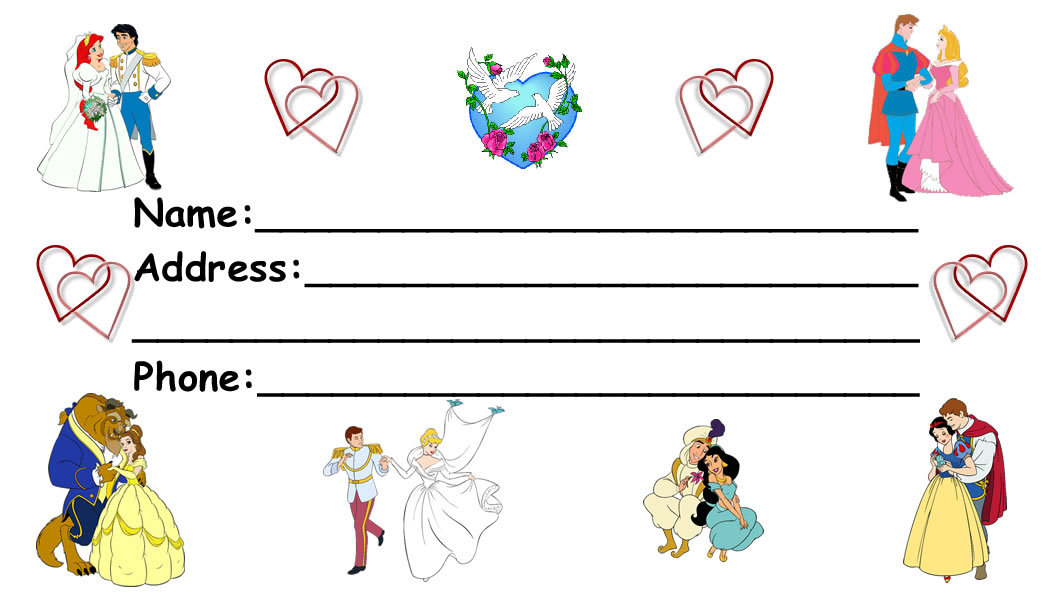
Disney Couples Luggage Tag
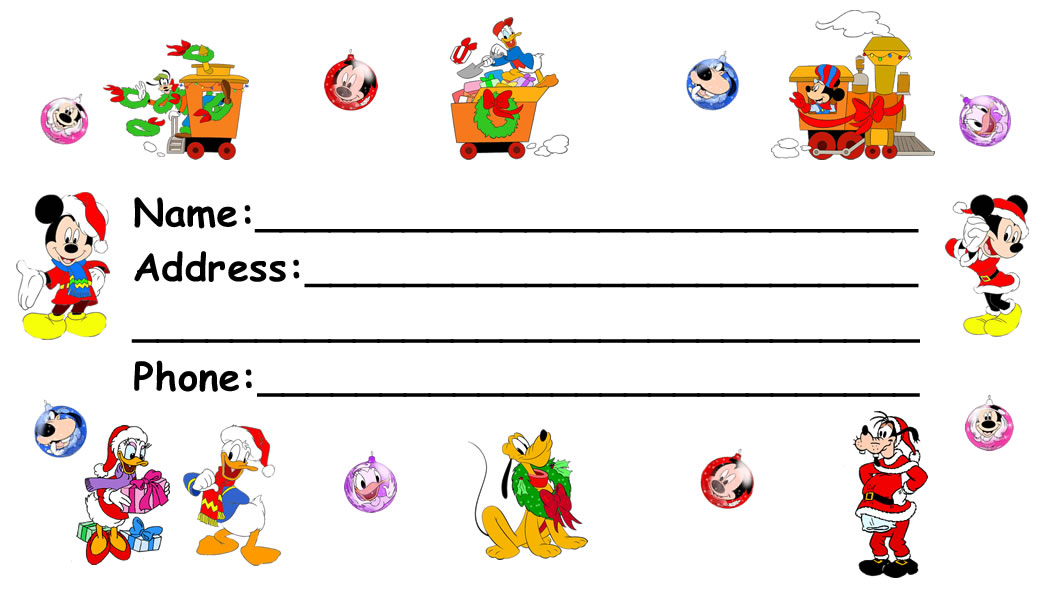
Christmas Fab 5 Luggage Tag
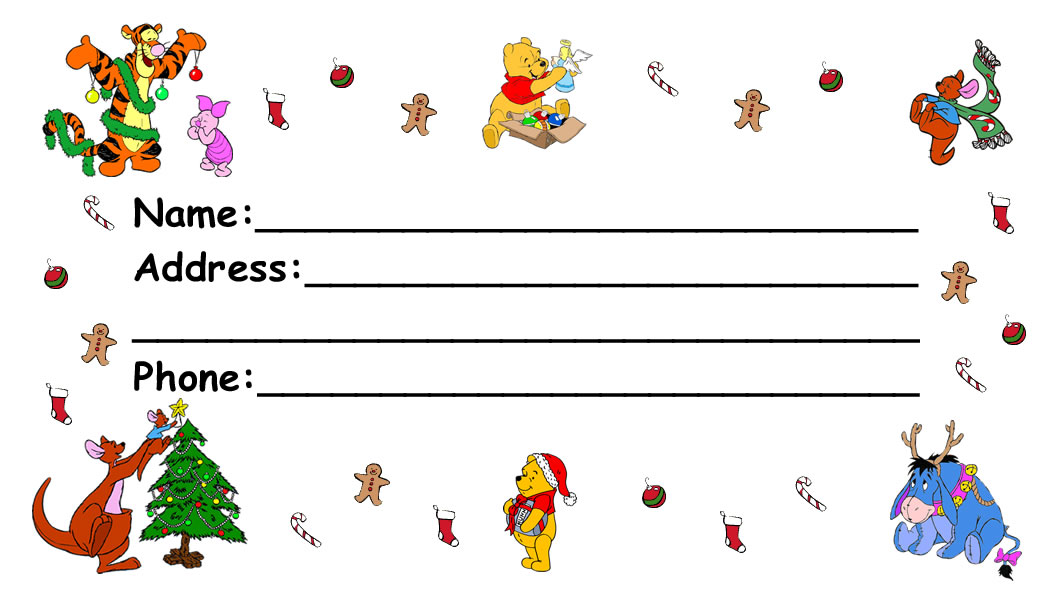
Christmas Pooh Luggage Tag
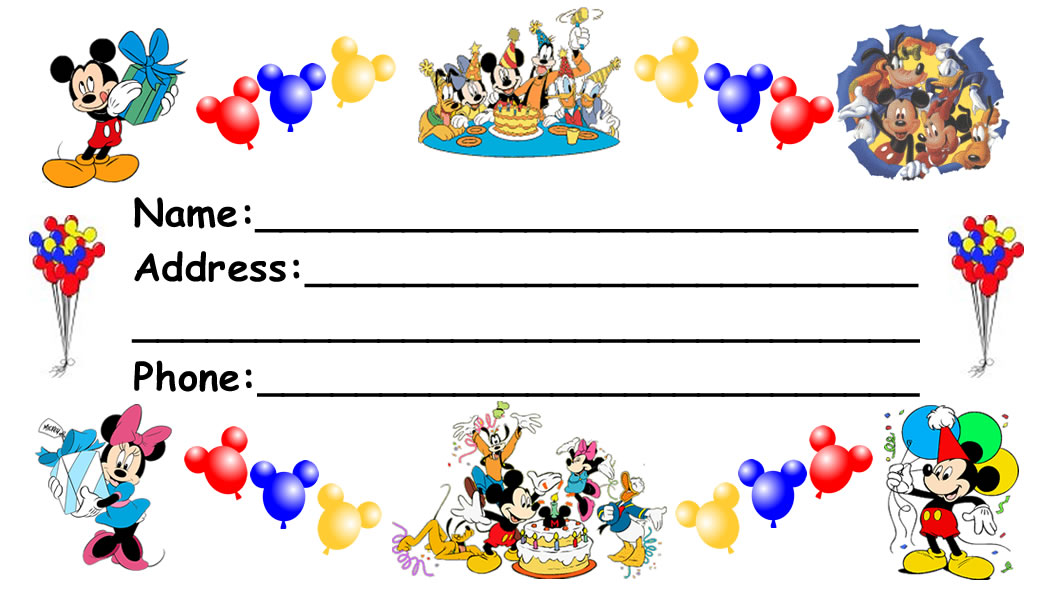
Mickey Celebration Luggage Tag
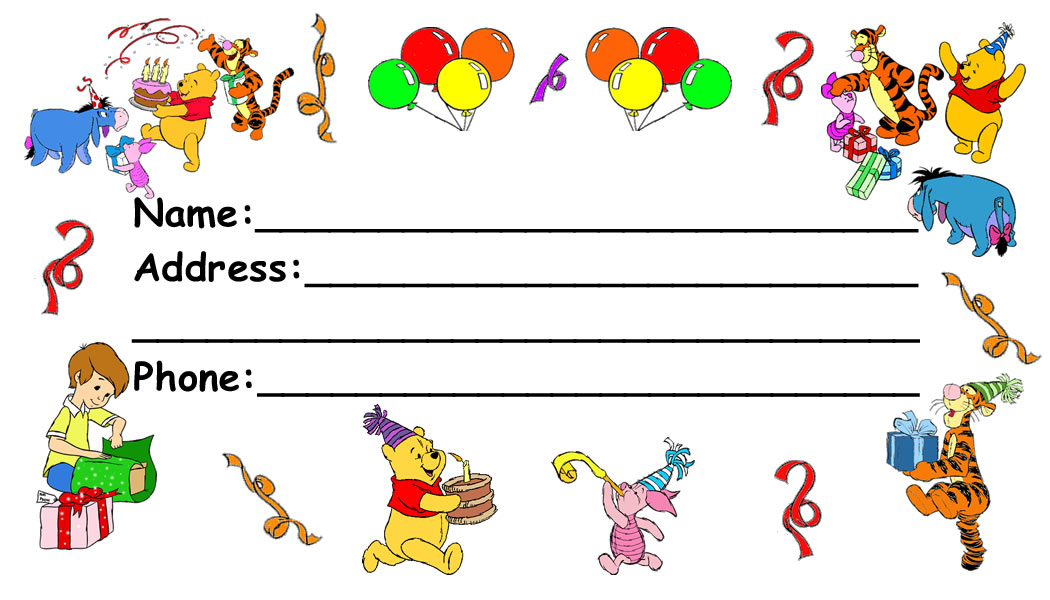
Pooh Celebration Luggage Tag
Luggage Tag Customization Instructions
Now that you’ve decided to customize a Luggage Tag, what do you do? Following the instructions below you will be able to customize Luggage tags for your trip.
1. Click on the “Front in Word” link below the design you like. A Microsoft Word document will open. You should see a document open with whatever design you chose.
2. Click immediately behind “Name:” and the text box will be highlighted (figure 2). Type in your address and phone (figure 3).
figure 2
figure 3
3. Repeat steps 1 and 2 untill all luggage tags are filled in.
4. Choose print to print your completed sheet.
5. Click on the link “Back in Word” to open the Word document for the back side.
6. Put the printed sheet back into the printer, making sure the correct side is up. Choose print to print the back side.
7. Cut the tags and either laminate or put in luggage tag pouches.
8. Enjoy and have a Magical Vacation!
** Extra **
1. There is one back page that is customizable, the Disney Wedding back that is titled “Customizable”. To customize the Disney Wedding Tag back, click on that link, and a Microsoft document should open up.
2. Use your mouse and click below “Celebrating Our Special Day” and a text box will open up.
3. Type in your message.
4. Repeat steps 1 – 3 till all tags are filled in.
