
 Now that you’ve decided to customize a Gratuity or Mousekeeping Envelope, what do you do? Following the envelope customizing instructions below you will be able to print the customized envelopes for your trip.
Envelope instructions 8 x 11 1/2 paper instructions
Instructions for customized envelopes on standard envelopes
1. Click on the “Standard Envelope in Word” link below the design you like on either Mousekeeping Envelopes or Gratuity Envelopes. A Microsoft Word document will open. You should see a document open with whatever design you chose.
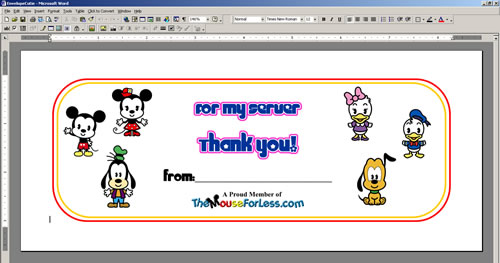
2. Click immediately behind “From:” and the text box will be highlighted.
3. Type in your name.
4. Choose print to print your envelope.
Instructions for customized envelopes on an 8 x 11 1/2 piece of paper
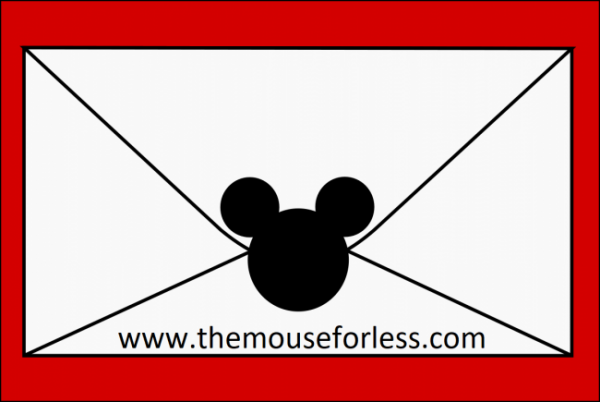
To download the envelope project, click on the “envelope project” of the specific graphic you like and save the envelope graphic. For the envelope project you will need:
- A Printer
- Paper
- Scissors
- Stickers (optional)
Step 1…
Select the preferred graphic by either clicking on the graphic itself or clicking on the “Envelope Project” link. The Envelope Project link in Word is customizable. When the document is open, simply click right behind “From” to get into the text box and type your family name before printing it out. Regular paper will work fine, but heavier grade paper will fold better.
Step 2…
After printing the page, cut carefully along the lines. You can write any additional message to Mousekeeping inside the envelope.
Step 3…

Place the gratuity for your Mousekeeper in the middle of the paper. Fold along the printed line, folding over the previous flap as you go along and inserting the last side into the first flap.
Step 4…

back
back
front
The back of the finished envelope should now look like the top of the three pictures on the left. The envelope is now complete as-is. If you prefer, you can either seal the envelope with a piece of tape or sticker in the center of the folded back like the picture in the center. The front of your finished envelope should look like the picture on the bottom.
Enjoy making your Mousekeeping envelopes!