
We have another fun craft for you and your kids at home! This one even helps your kids learn a little bit! Today we are going to show you how to make balloon powered carriages inspired by Cinderella!
Cinderella is one of those movies I am so thankful to have on Disney+. My daughter is in love with the Fairy Godmother scene and thankfully, we can easily rewind it and watch it over and over! (I remember as a kid having to rewind on my VHS. Kids these days don’t know how good they have it!) I knew if we were going to do a craft it would probably be from this scene. She said she wanted to make the carriage and it had to have lots of sparkles, just like the one on Cinderella! When she said carriage I knew the perfect craft from one of my middle school science classes would be great! She would learn and we would have fun racing all at the same time!
So what exactly will we be learning about with this craft?
1. What parts go into a car/carriage – Since my daughter is a toddler, just knowing that cars need a way to create movement (engine), wheels, axles, a body, etc. was a big learning moment.
2. Newton’s laws of motion – This balloon car is a great exercise for all three of Newton’s laws of motion!
Newton’s third law of motion states that for every action, there is an equal and opposite reaction. When the balloon deflates, escaping air is pushed out the back of the balloon. In turn, the air pushes the car forward.
Newton’s second law of motion describes acceleration. You see this as the car accelerates forward when the balloon deflates, and again as the car coasts to a stop (decelerates) when friction slows it down.
Newton’s first law of motion says that an object in motion will remain in motion, and an object at rest will remain at rest, unless acted upon by an outside force. You may notice this as your car keeps moving even after the balloon has completely deflated. The car is already moving forward, so even though the balloon is no longer pushing it, it will keep moving until an outside force (friction) brings it to a stop.
3. Engineering – If you have even older kids or teenagers, encourage them to make several different kinds of carriages out of different materials to see if they can improve their designs. Are there different types of wheels that will make the car go faster or further? What about a different material for the body of the car like a water bottle or a box? The design process can be the most fun so encourage your kids to think *literally* out of the box!
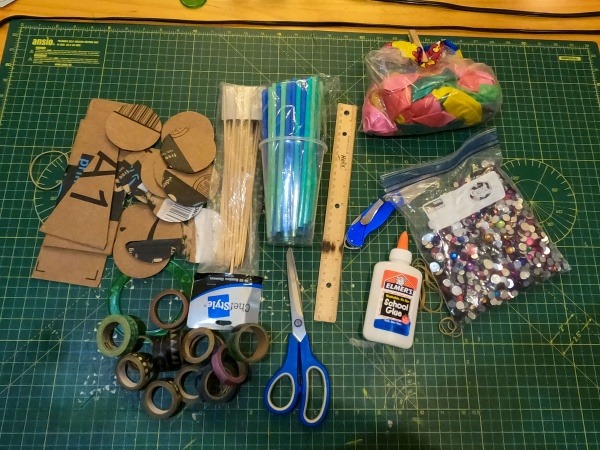
What do I need for this craft?
- Cardboard – I saved several Amazon boxes knowing that we would be doing this craft!
- A box knife or scissors
- A pen or pencil
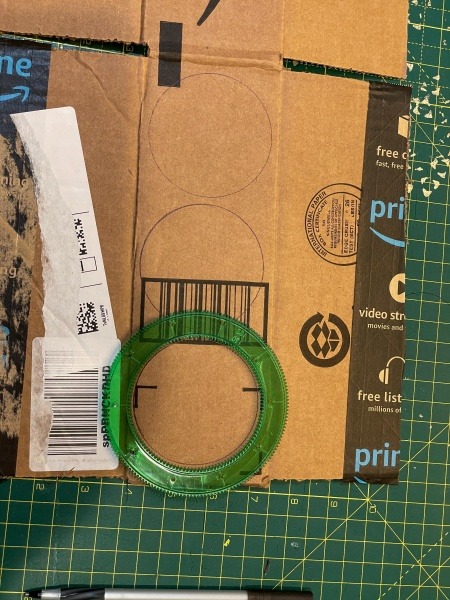
- A circular object for tracing wheels (I used my spirograph from the last craft we did!).
- Skewers
- Straws
- Crayons
- Glue
- Jewels
- Tape
- Balloons
- Rubber bands
*Remember, this materials list is for how we made our cars! If you have ideas for a different design, be sure to grab whatever craft supplies or recyclables you have around the house!*
Making the car:
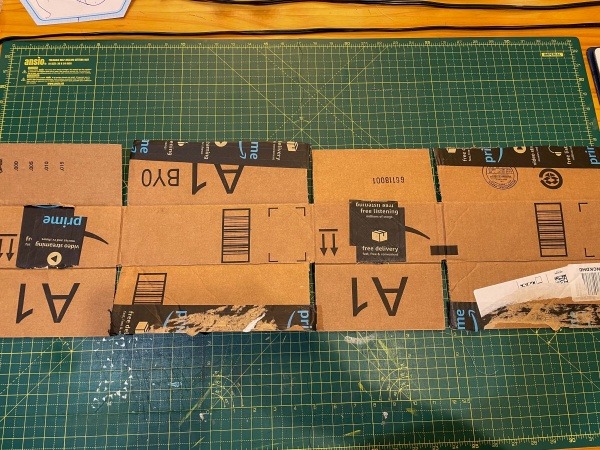
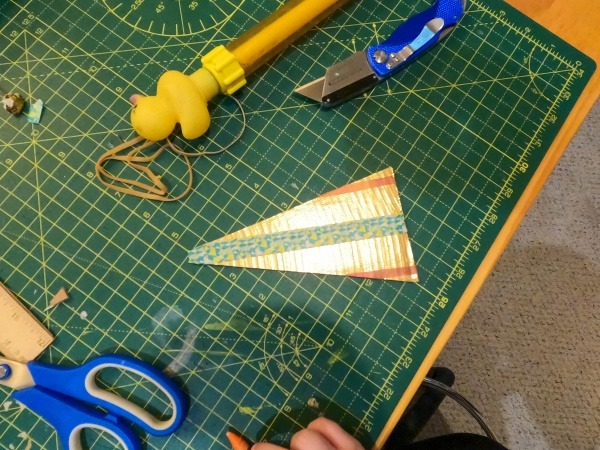
1. I started off by breaking down my boxes and cutting out bodies for our cars. I then traced and cut out two different sized rectangles and a triangle (for fun!).
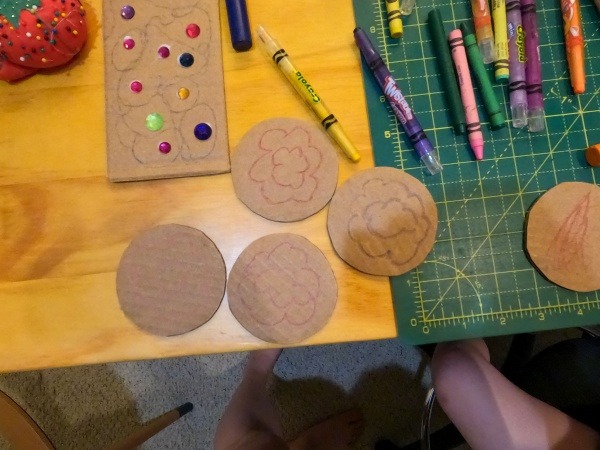
2. Then I cut out twelve circles as my “wheels.”
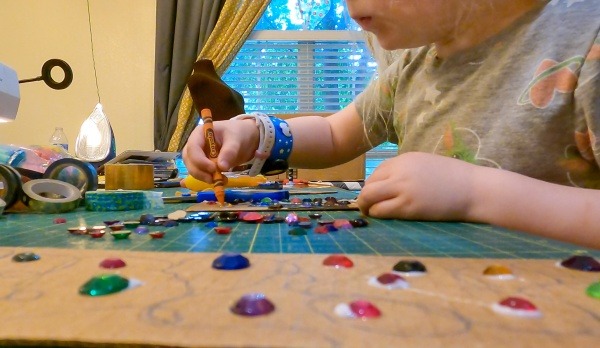
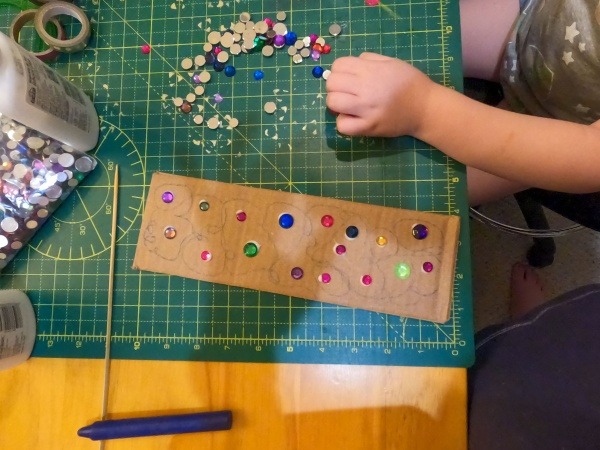
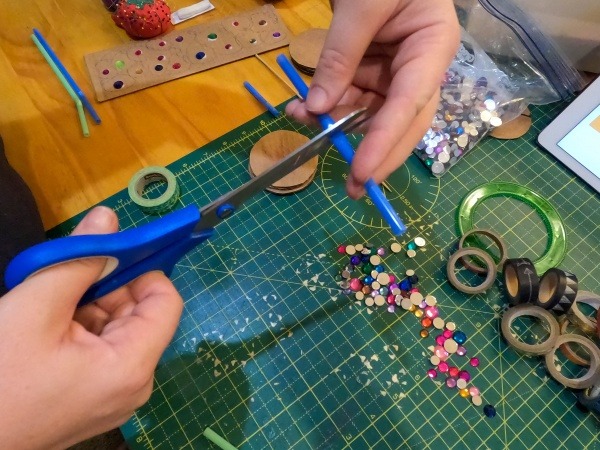
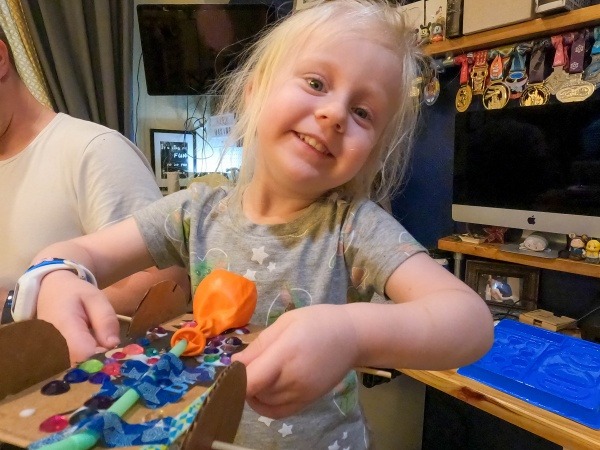
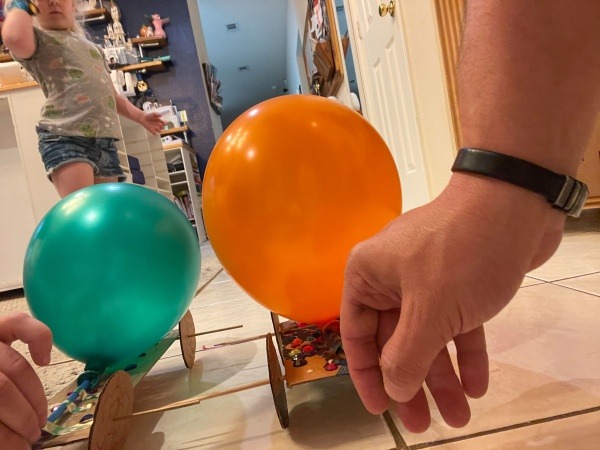
3. First thing we did was decorate the car bodies and the wheels. Myself and my daughter opted for lots of gems with some crayons to color in the spots in between the gems. We also decorated the wheels. My husband opted for a cool tape job!

4. We then took straws and cut two pieces just a little bit smaller than the body of the car. We taped these to the bottom of the body of the car.
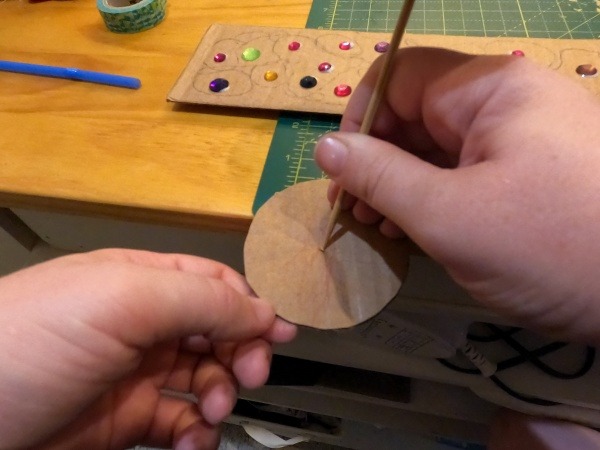
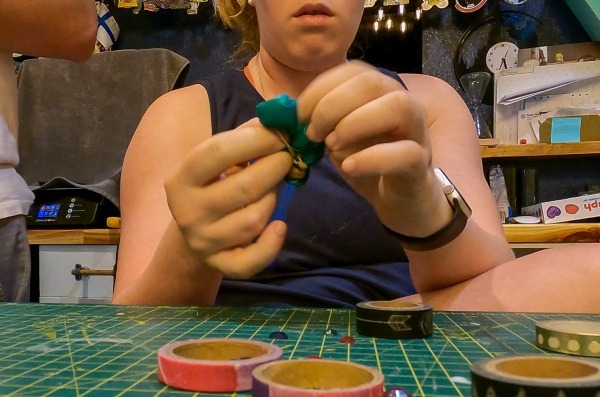
5. Next we punched holes into the wheels of the car, as centered as we could make it! The more precise you can be the better your car will roll. Once the holes were punched we took the skewers and threaded them through the straws in the bottom of the car body, then slotted the wheels on either side.
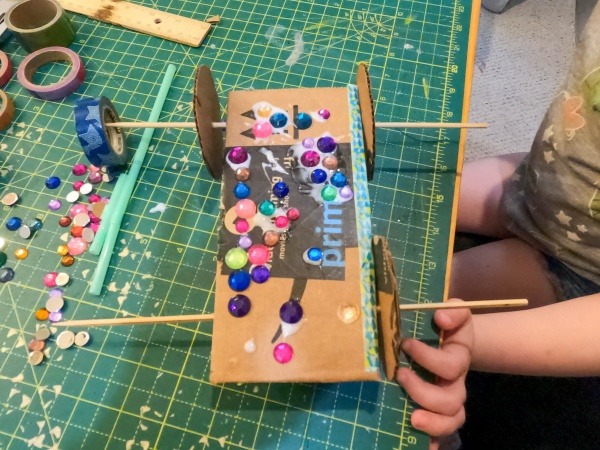
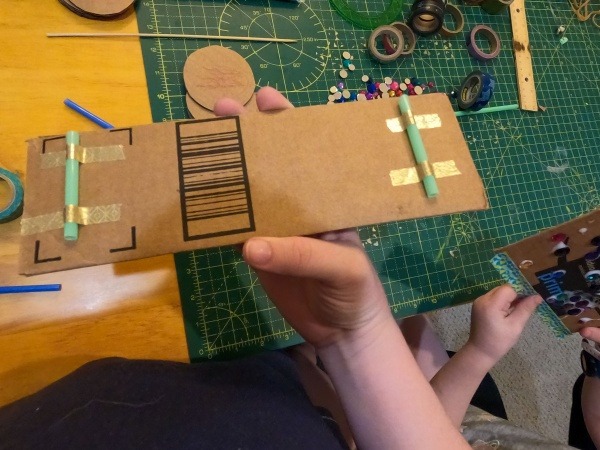
6. We then took the balloons and rubber banded them to the straws. It doesn’t seem like it should work at first, but if you keep pulling the balloon through the rubber band as you keep wrapping the band around the straw, I promise it works! We then taped the straw to the top of the car, making sure we didn’t have too much friction between the balloon and the wheels.
Now it’s time to race!

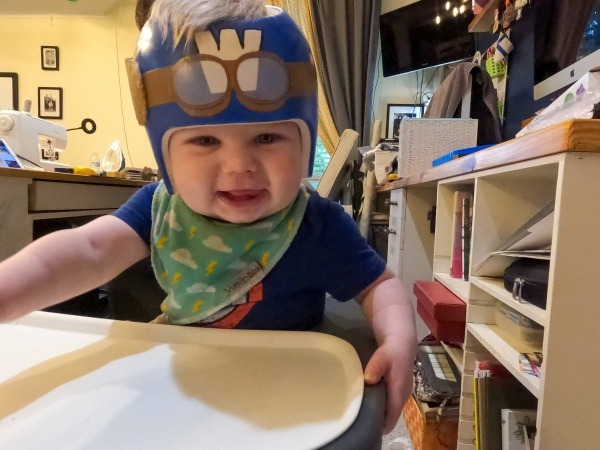
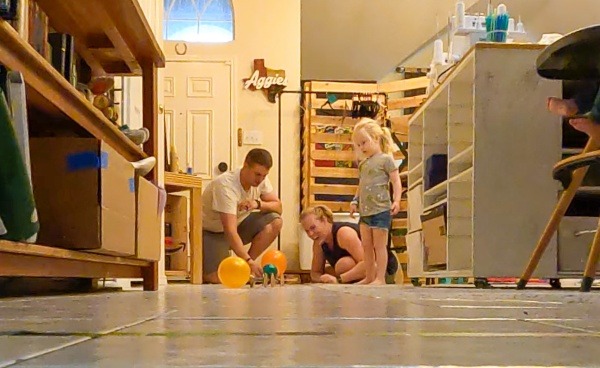
Tile or wood surfaces are probably going to be a better bet for your racing than carpet. We want to have as little friction as possible to help our cars to go fast! Once you find a good spot to race in your house, tape a start and a finish line on the ground. Our spot was the front hallway so we designated our course and lined up our cars! Our baby sat in his high chair and was the “race starter” with a flag we gave him to wave around!
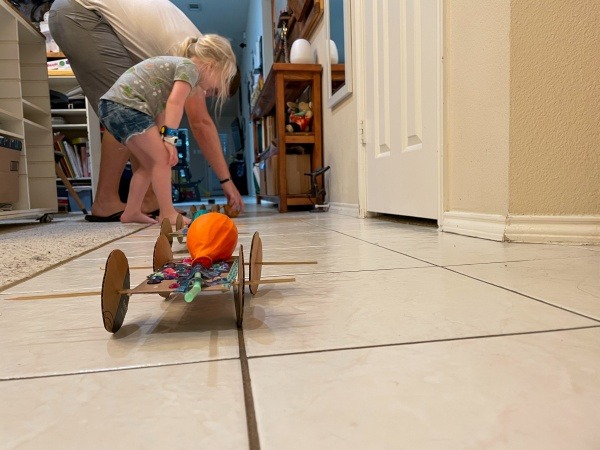
To race your cars, you need to blow up the balloon through the straw, then hold your finger over the end of the straw to keep the air from escaping. Then, when you are in position you release the air and watch your carriage go!
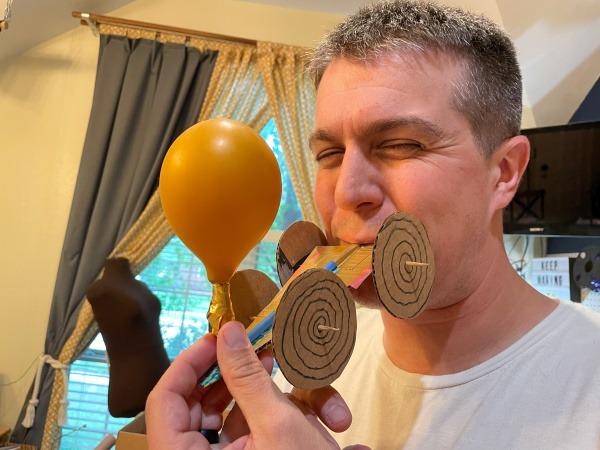
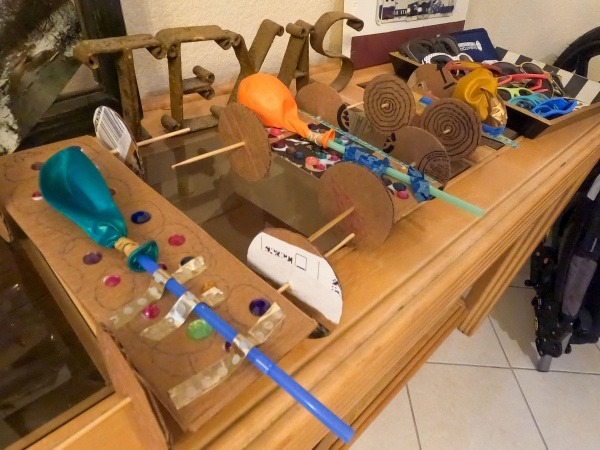
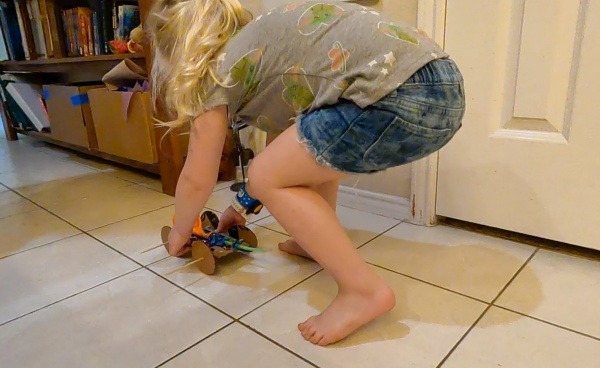
Our carriages seemed to be more about fashion than function. They barely made it a foot before stopping! We would definitely need different wheels to improve our design. But we still had a ton of fun making these and “racing” them!
This was a great family activity, especially for a rainy afternoon! If you make some carriages of your own, be sure to show us on social media!
If you want more crafts for your family to do, check out the crafts tag or the Disney crafts category on our blog!
Did you like this article? Make sure to share it with your friends! Check below for easy ways to share!
Want to visit a Disney Destination? Contact The Magic for Less Travel for more information and a free, no-obligation quote.

Incoming search terms:
- balloon powered Carriage