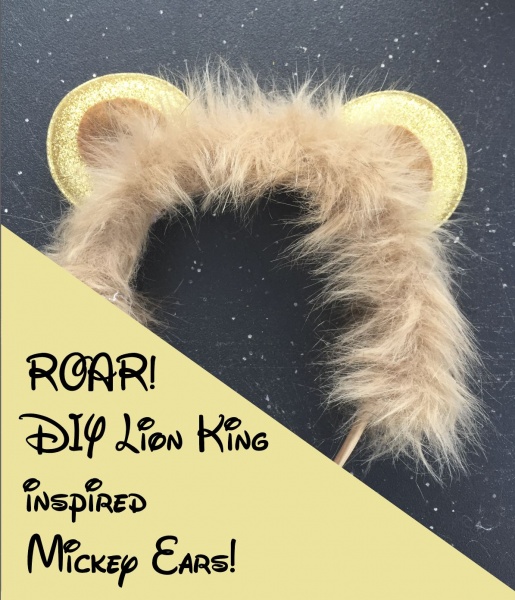
DIY Lion King inspired Mickey Mouse ears are easy as One, Two, Three and are bound to make any Disney fan ROAR!
First thing on my check list for visiting Disney are always to pack my Mickey Ears! Below I will show you how to make Lion King-inspired Mickey Mouse ears! You can choose to wear them yourself or personalize them to give them as a gift!
ESTIMATED TIME: 15 min
ESTIMATED COST: 8 Dollars
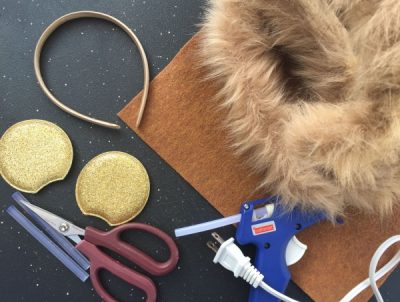
SUPPLIES:
- Head band
- Pre-made Mickey Mouse foam ears- I found this pair on Etsy. Usually I can find them for under three dollars for the pair!
- Fur- Found in the kids crafting section of your local craft store
- Brown felt for inner ear
- Glue gun
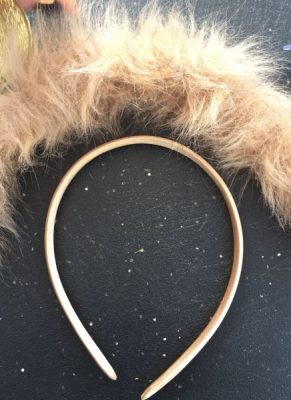
STEP ONE: Cut the fur. Depending on how you would like it to look, you could make it the same length of the headband, or you could leave some of the headband ends uncovered to allow the head band room to go behind the ear easier.
Using the glue gun, place glue on the headband and attach the fur on top. I suggest adhering the middle of the fur first and begin to work down on each side.
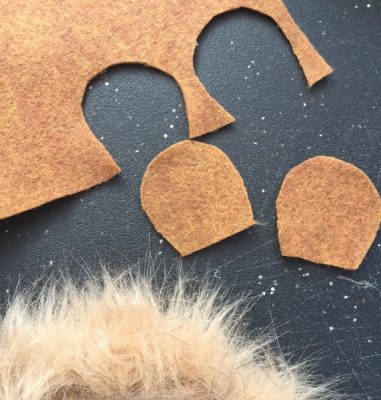
STEP TWO: Cut the inner ears out of the felt. I used a marker to draw on the felt first, folded the felt over and cut on the inside of the line. Pinch the cut felt to make the ear stick out a bit. Glue to the bottom of the gold glitter felt ear. You need to hold the felt down on the ear till the glue dries. This will help make sure that is dries in a shape that you are happy with.
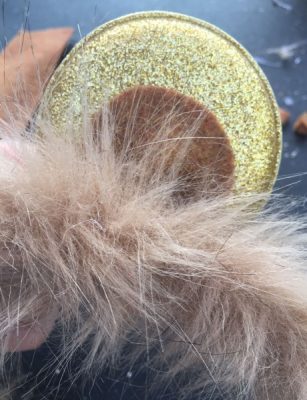
STEP THREE: Using the glue gun, place glue on the bottom of each glitter foam ear. Place them on the back of the head band. I like to do one at a time and blow on the glue to allow the glue to dry. Using the “eye ball” method to choose where the ears are placed. You could choose to measure if you would like.

Change up the color on these ears to make them fit any Lion personality! Happy crafting!
Incoming search terms:
- https://www themouseforless com/blog_world/diy-lion-king-inspired-mickey-ears/
- easy diy lion headband
- How to shape lion ears headband
- lion headband
- porch7x4