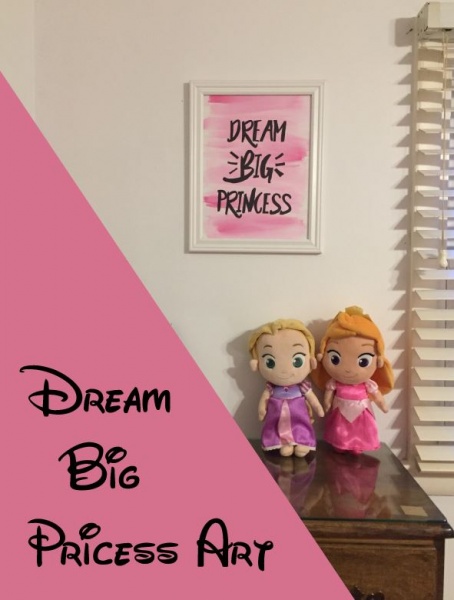
Decorating a child’s room can be a challenge. How can you make it fit their “Flavor of the day” without breaking your budget every time they want to change something? This DIY Dream Big Princess Art is one you are able to customize and change the room on the cheap!
Watercolors and a steady hand can help save the day! My daughter was totally into the Dream Big Princess campaign awhile back. When we were looking to redo her room the quote “Dream Big Princess” was something I knew was a must have for a piece of art. You can customize this project to any quote or saying.
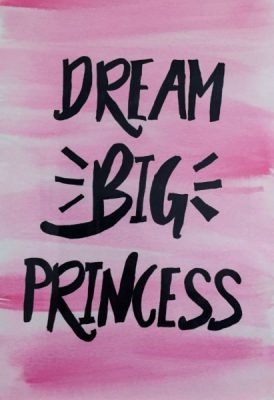
Watercolor is a very forgiving art. You don’t have to be a fine artist to be able to put some great watercolor work together. For this piece I took a wide brush and just scrapped the paint across the paper till I got this natural watercolor look.
To stencil this lettering on I did my normal stenciling trick. I printed out the saying/text on regular computer paper. Place the computer paper over your dried watercolor paper – using a pencil trace the outline of the text on the computer paper. Pressing down hard enough so that the outline is lightly visible on the watercolor.
Next up, take your sharpie marker and fill in the font!
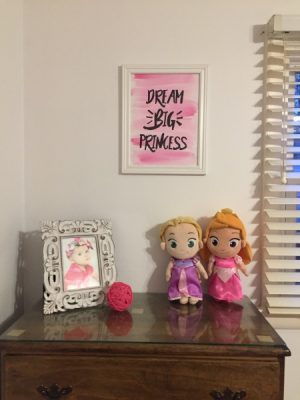
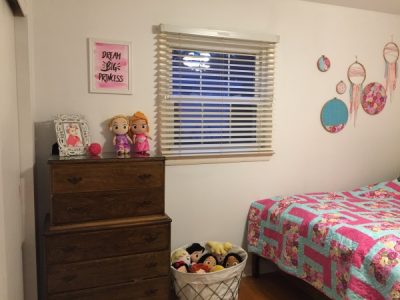
Just like that you have a high quality piece of art. I put ours in an Ikea frame, which will be easy to change out when she decides to move on from it. I won’t feel any pain or foul as it takes about an hour from start to finish and costs very minimal to give the frame some refreshed art.
Supplies:
Watercolor paint
Paint Brushes
Watercolor paper
Computer paper to create stencil
Pencil
Sharpie marker/ or thick black felt marker
How have you refreshed your kids room with unique Disney artwork? Share your ideas in the comments or on Facebook or Twitter.
Did you like this article? Make sure to share it with your friends! Check below for easy ways to share!
Incoming search terms:
- manwqf