
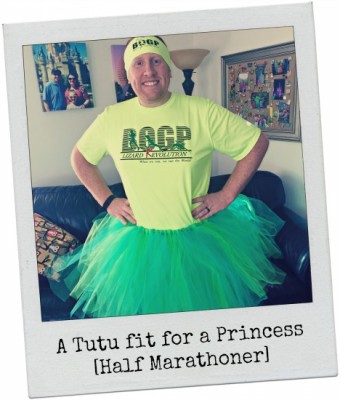
This year, Scott is running in runDisney’s Glass Slipper Challenge at the Walt Disney World resort in Florida. The Glass Slipper Challenge consists of the Disney Princess Enchanted 10K and the Disney Princess Half Marathon. If you’ve ever witnessed a runDisney event, then you know that runners tend to get creative for these races – running in all sorts of wacky Disney gear, including tutus and even full costumes! Scott decided to use his participation in the Glass Slipper Challenge as an opportunity to raise money for one of our favorite charities – Give Kids the World Village. As an incentive to donate, Scott promised that if he reached his fundraising goal, he would run both races in true Disney Princess fashion – wearing a tutu and tiara! Thanks to the generosity of our friends and family, Scott reached his goal in no time. The only question was: where do you get a tutu for a grown man?!
The answer? Make it yourself! Making your own tutu is both quick and easy. Take it from me – as someone who is terrified by sewing machines – if I can do it, so can you! Just follow these simple steps, and you’ll be making colorful tutus for every occasion.
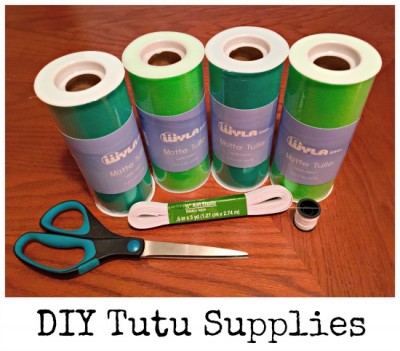
Supplies:
- 6-inch Tulle Spool (approximately 100 yards total)
- Knit Elastic
- Scissors
- Needle and Thread (optional)
Step 1: Prep the waistband!
- Measure the knit elastic and cut to your desired size.
- Using the needle and thread, sew the ends of the knit elastic together, forming a circle waistband. If you’d prefer to take a “no sew” approach, you can simply tie the ends of the knit elastic together to form a knot.
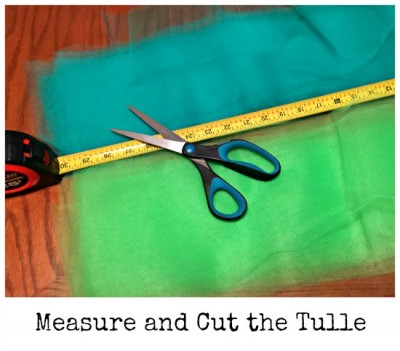
Step 2: Prep the tulle!
- Measure the tulle and cut it into strips of your desired length. Be sure to make each strip double the length of the finished tutu. For Scott’s tutu I cut my tulle into approximately 30-inch strips, making the finished tutu about 15-inches long.
- Tutu making is not an exact science, so you don’t have to be super precise with your measurements. It’s no big deal if the tulle strips don’t end up exactly the same length.
- If you’re cutting your tulle to 30 inches, you should end up with about 100 strips in total.
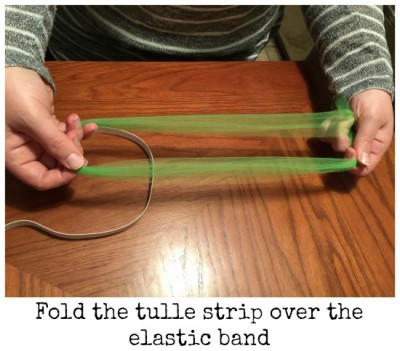
Step 3: Loop the tulle!
- Now you’re ready to start looping the tulle onto your waistband!
- Take one of your pre-cut tulle strips and fold it in half, placing the “U” shaped fold over the elastic band.
- Slowly pull the ends of the folded tulle strip through the loop, securing it to the elastic band.
- Leave your knot slightly loose, so that you can slide the tulle strip along the waistband, as necessary. You can pull them tight once you’ve added all the tulle strips.

Step 4: Repeat!
- Continue adding tulle strips to your waistband following the steps above, until all of your pre-cut strips are secured to the band.
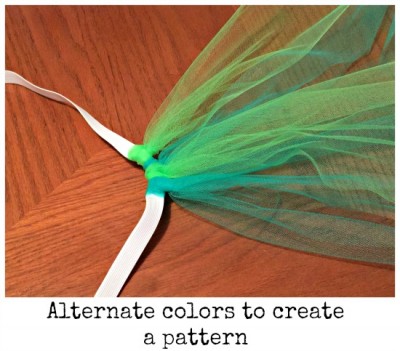
- If you are using multiple colors of tulle, I’d suggest alternating colors to create a pattern. For Scott’s “lizard” themed tutu, I used a neon green and a darker, teal shade of green to create some variation and make the tutu more interesting.
- Once all of the tulle strips are looped onto the waistband, slide them around as needed to fill-in any gaps. When you’ve achieved an even coverage, secure the loops by pulling the ends of the tulle to tighten your knots.
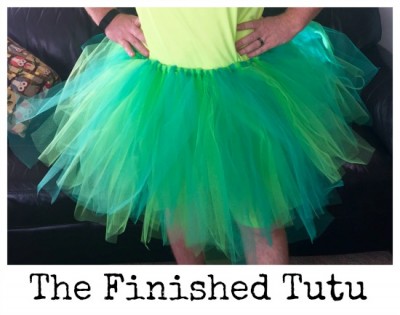
Step 5: Fluff and enjoy!
- At this point, you’re basically done!
- I’d suggest “fluffing” your tutu a bit and “combing” through the tulle with your fingers, to help straighten it out, as the tulle tends to build up static and cling together.
- Wear your tutu with pride and enjoy all the envious looks and compliments you’re bound to receive!
Have you made your own DIY tutu? Do you have any suggestions for making a Disney character-inspired tutu? We’d love to hear from you in the comments!
Incoming search terms:
- https://www themouseforless com/blog_world/diy-disney-tutu-princess-half-marathon-weekend/
- tulle running tutu diy