Looking for an affordable way to have some matching shirts on your next Disney Parks vacation? Just love Disney & want a homemade shirt that is simple, affordable & will withstand wear & tear? These shirts have lasted my family for years of Disney vacations. Try out these DIY Disney Silhouette Shirts!

What you’ll need to make DIY Disney Silhouette Shirts:
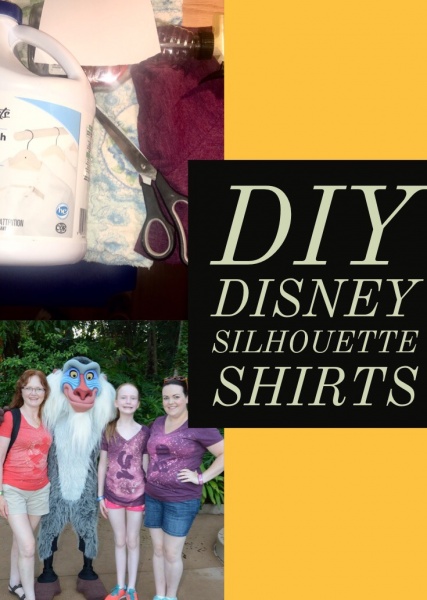
- Dark coloured T-Shirt
- Spray bottle
- Bleach
- Printed Silhouette of your favorite Disney character
- Straight Pins
- Cardstock Paper
- Scissors
- Access to a printer/computer
- An old towel

Step 1:
Find a silhouette of your favorite Disney character! A quick google search should help! That’s where I found all of mine for this project. Find your image, make sure it is nothing too details, just a simple silhouette. Print it on cardstock paper & cut it out. Set it aside until you need it.
Step 2:
Fill your spray bottle with bleach. Don’t add water, or any other additive, just straight bleach! Set it aside until you need it later in the process.
Step 3:
Place your old towel or rag in between the back of the shirt & front of the shirt, so it’s on the inside. This is to ensure the bleach does not go through to the back. Lay your shirt on a flat surface and ensure there are no wrinkles. Then, take your silhouette print out & use straight pins to adhere it to the shirt. Make sure the pins are along the edges, but doesn’t cover the shirt itself. Make sure it is secure & the shirt is wrinkle free.
Step 4:
Spray your bleach all over the front of the shirt liberally. Be careful not to concentrate too much of the spray in the one area, we are going for a splashed/dropped paint look. You want enough so that the silhouette is visible, but not so much that the entire shirt becomes a different colour.
Step 5:
Remove the paper silhouette & voila! Let the shirt dry & there you have it! A cute, simple shirt, which is (believe it or not!) washer safe! I absolutely love this craft & I hope you do too! We get countless compliments on these when we wear them to the parks & on the cruise!!


Have you made any DIY Disney shirts? Of if you try to make these DIY Disney Silhouette Shirts, show us your work on Facebook or Twitter !
Did you like this article? Make sure to share it with your friends! Check below for easy ways to share!
Want to visit one of the Disney Resorts? Contact The Magic for Less Travel for more information and a free, no-obligation quote.