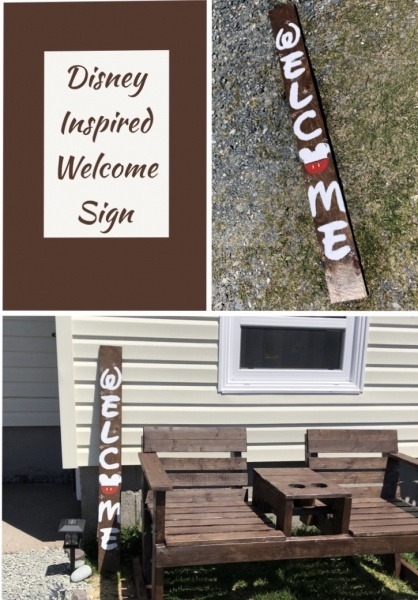
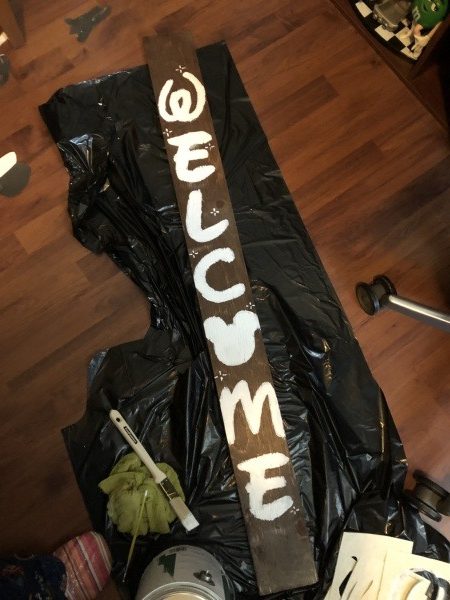
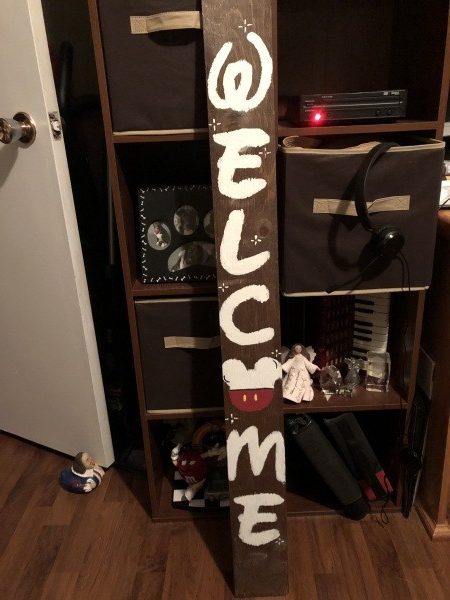
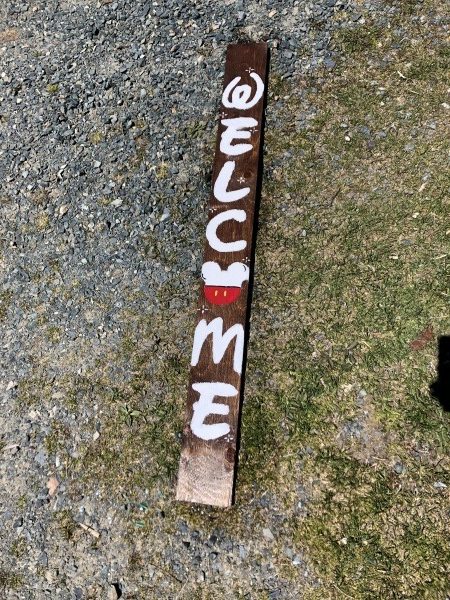
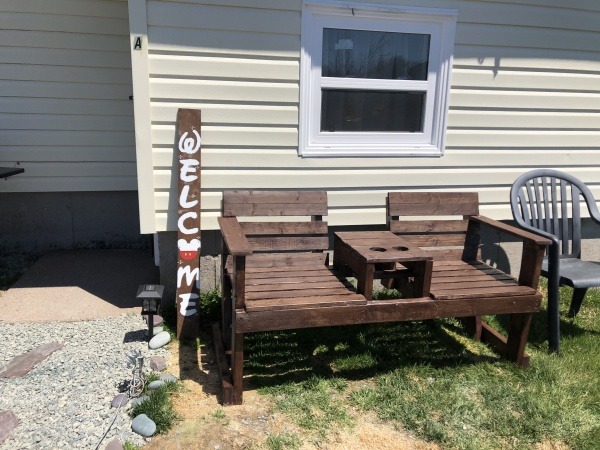
If you are looking to bring a bit of Disney inspiration to your front door or porch, this is the perfect project for you! I made a Disney welcome sign for my front door!
You Will Need
- Long piece of board – size of choice
- Wood stain – colour of choice
- Black, red, yellow & white acrylic paint
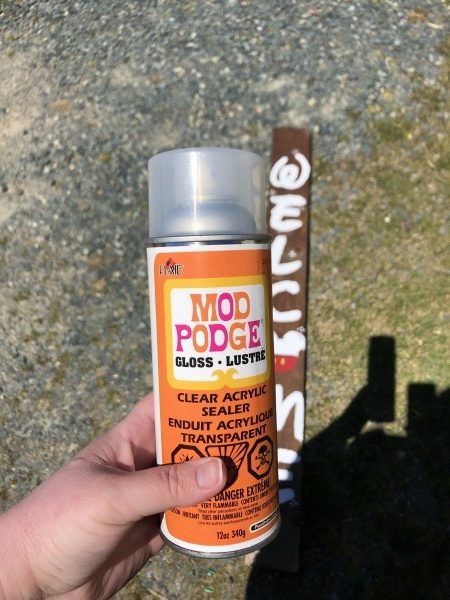
- Mod Podge spray
- Wide brush
- Fine brush
Step One
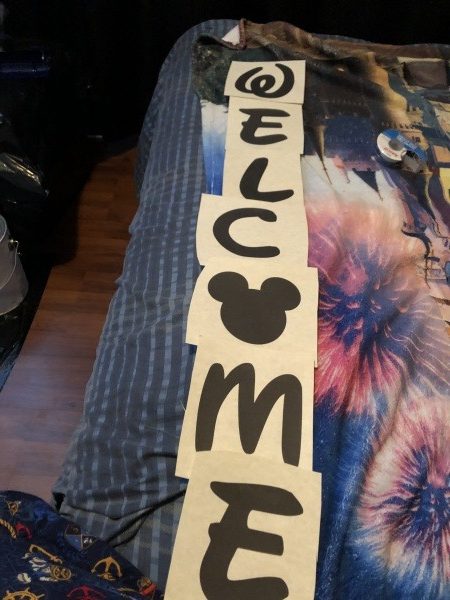
Head to this website. Download the Disney lettering to use for stencils. Print them off the size you want to determine what size wood you want. You’ll want a fairly big piece. I did about 5×7 inches , but wish I’d had it a little bigger.
Step Two
Find a piece of wood from your home or local hardware store. Any type of wood will do, I just used an old piece of plywood. You may need to saw the wood to match your preferred length.
Step Three
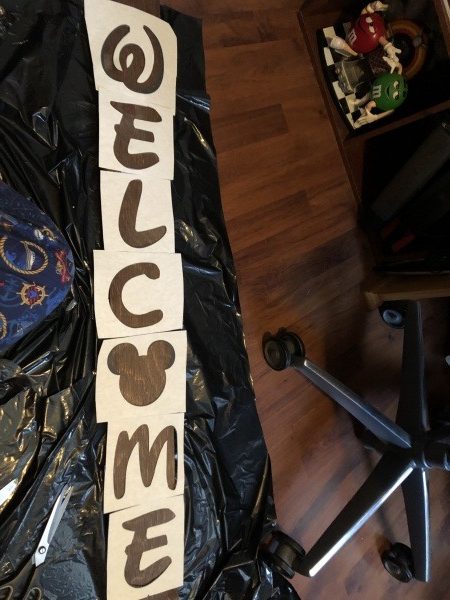
First, stain the wood, if desired. I happened to have this walnut stain at home, so I used that. I would have liked something lighter, so I could do black lettering, but I didn’t want to buy more.
Step Four
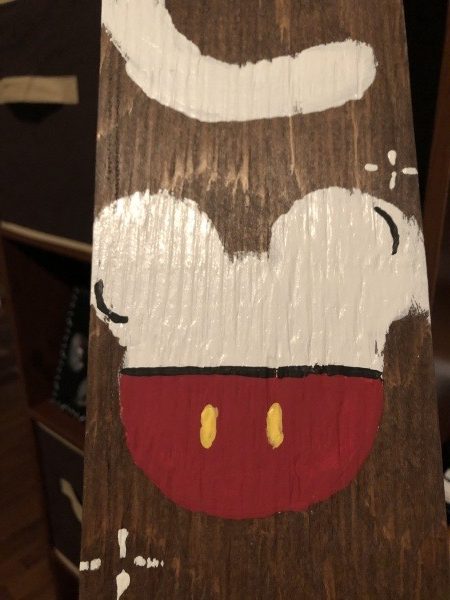
Lay out & gently tape your stencils on the board for how you’d like them. Once positioned, grab your black or white paint, whichever you are using for the lettering. I used white because I had dark wood. I made my own Mickey stencil by tracing circles from objects from my home. Note: If you have a circuit, you can also do this with vinyl lettering. I do not, so I painted by hand.
Step Five
Once dried, do a second coat of the lettering and Mickey head base.
Step Six
Once that has dried, it’s time to finish painting Mickey. I added a pair of “pants” using red, yellow & black paint. I also added some Disney stars around the Mickey & lettering for some added magic. I did this using the bottom part of the brush, the plastic part. Do a second coat once dried.
Step Seven
I allowed to dry for a full 24 hours. Then, I was time to seal it for the outdoor elements. I used Mod Podge spray, but you can use any sealant. I did two coats & allowed to dry for 24 hours. Make sure you do this in a well ventilated area or outdoors.
Step Eight
Voila! You are ready to hang it somewhere special. I just laid mine by my door, but you can add a hook to the back if need be.
Hope you have fun making your magical welcome sign!
What tips do you have for making a DIY Disney welcome sign? Tell us in the comments or on Facebook or Twitter!
Did you like this article? Make sure to share it with your friends! Check below for easy ways to share!
Want to visit a Disney Destination? Contact The Magic for Less Travel for more information and a free, no-obligation quote.
Incoming search terms:
- https://www themouseforless com/blog_world/diy-disney-inspired-welcome-sign/
- diy welcome to disney signs
